How to Make Your Own CBD Oil at Home
Written: editor | August 16, 2023
Understanding CBD and Its Benefits
Extracting CBD from Cannabis
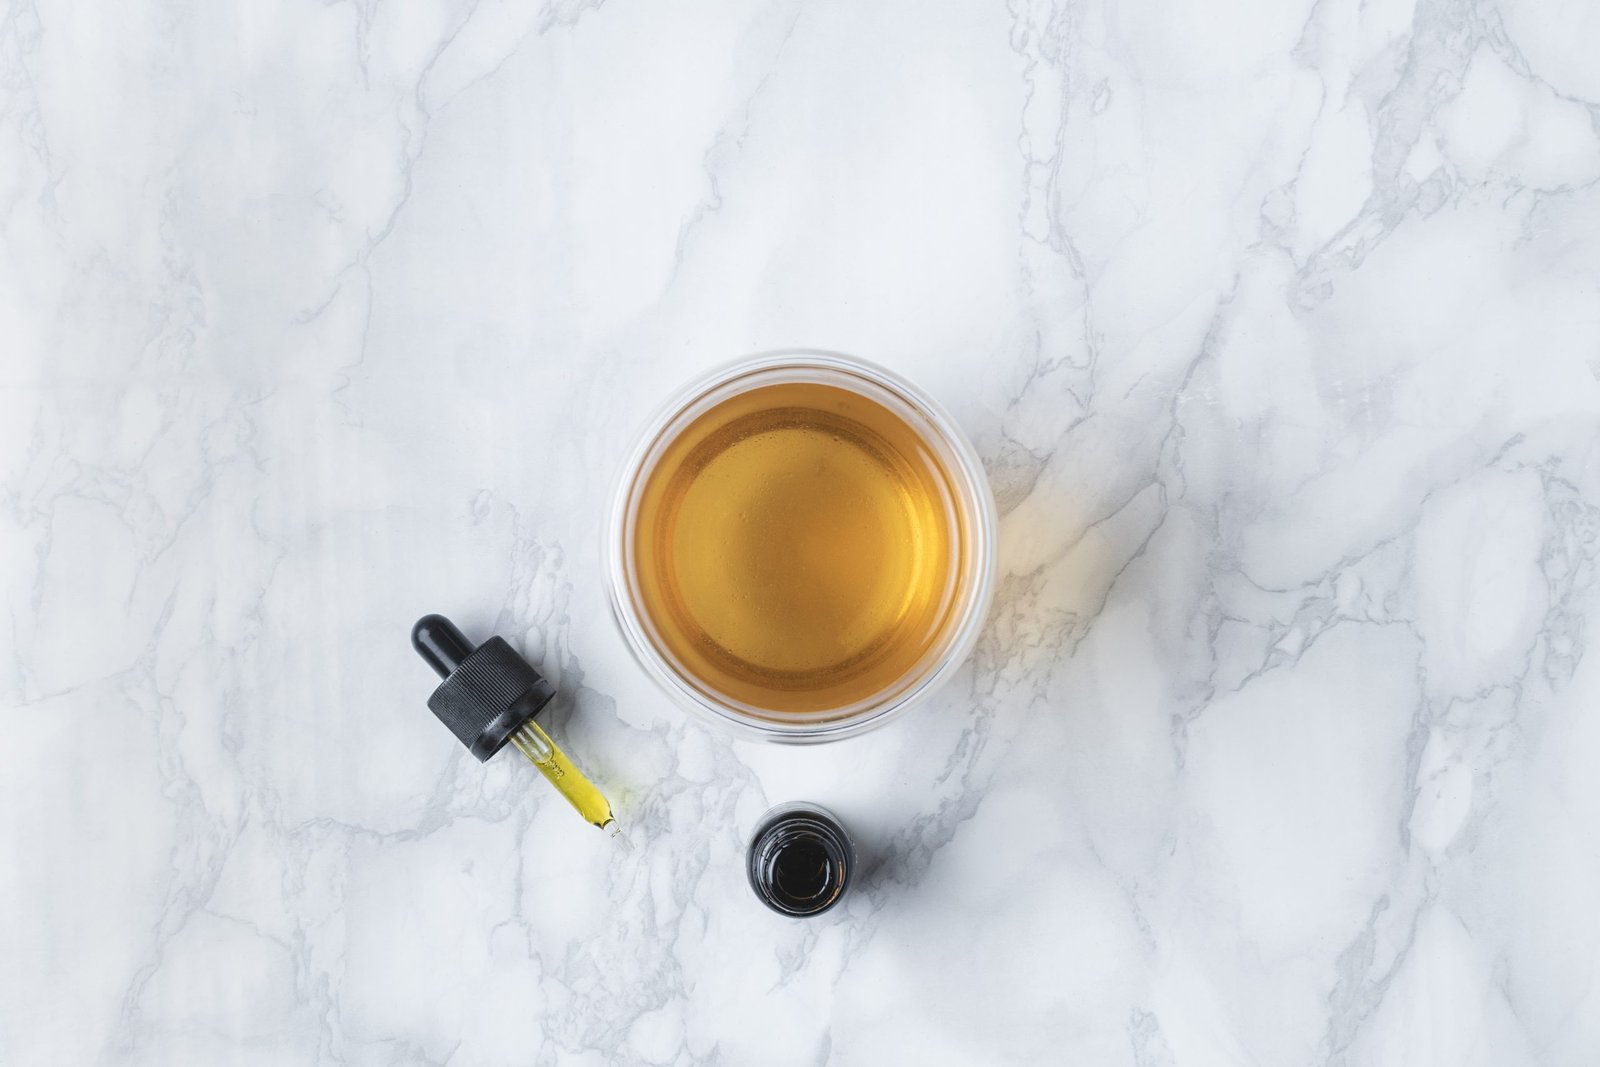
To make CBD oil at home, you can extract the cannabinoid compounds from cannabis plants. One common method involves using a carrier oil like olive or coconut oil to soak the ground hemp plant material. After soaking, the ground hemp mixture is heated in a double boiler to extract the beneficial compounds from the plant into the oil. This process allows for easy ingestion and application of homemade ground hemp CBD oil.
Another popular extraction method is using alcohol as a solvent to separate the CBD and other cannabinoids from the plant matter. The alcohol is then evaporated, leaving behind concentrated CBD in an oily form that can be mixed with a carrier oil for consumption or topical use.
Calculating CBD Percentage and Dosage
When making your own CBD oil mixture, it’s important to calculate the percentage of CBD in your final product. Knowing this percentage helps determine appropriate dosage levels based on individual needs and desired effects. For example, if you have 1 gram of dried flower containing 15% CBD, this means it contains 150 mg of CBD (1g x 0.15 = 150mg).
Understanding how much CBD you’re extracting per batch allows for better control over dosing when using homemade oils for various health issues such as anxiety, pain relief, or insomnia.
Selecting the Right Cannabis Strain for CBD Oil
High-CBD, Low-THC Strains
When making CBD oil at home, it’s crucial to start with the right cannabis strain. Look for strains like Charlotte’s Web or ACDC that are high in CBD and low in THC. These strains ensure that your resulting oil will have a higher concentration of CBD, which is desirable for its potential therapeutic benefits.
Consider Terpene Profile
In addition to the cannabinoid content, consider the terpene profile of the strain you choose. Terpenes are aromatic compounds found in the cannabis plant that not only contribute to its aroma and taste but also offer additional therapeutic benefits. For example, if you’re looking for an oil that promotes relaxation, a strain with high levels of myrcene would be beneficial.
When selecting a cannabis strain for making CBD oil at home, think about what effects you desire from the final product. If you want an oil that provides relaxation and stress relief, look for strains known for their calming properties such as Granddaddy Purple or Bubba Kush. On the other hand, if you aim to use your CBD oil during daytime activities requiring focus and alertness, consider strains like Harlequin or Sour Tsunami.
Essential Equipment and Ingredients for Homemade CBD Oil
Key Ingredients
To make CBD oil at home, you will need a few essential ingredients. First, you’ll require high-quality cannabis flower with the desired cannabinoid profile. Next, choose a suitable carrier oil such as coconut, olive, or MCT oil to extract and dilute the cannabinoids. The carrier oil plays a crucial role in the final quality of your CBD oil.
Decarboxylation is an important step in making CBD oil at home. This process involves heating the cannabis flower to activate its beneficial compounds like THC and CBD. Without decarboxylation, these compounds remain in their acidic forms (THCA and CBDA) and are not readily available for extraction.
Necessary Equipment
In addition to the key ingredients, several pieces of equipment are necessary for making homemade CBD oil. A basic kitchen setup including a baking sheet and oven is needed for decarboxylation. You may also require a precision cooker or thermometer to ensure accurate temperature control during this stage.
Furthermore, having a double boiler or creating one using two pots can facilitate the infusion process by providing gentle heat without direct exposure to an open flame.
Decarboxylation: Activating CBD in Cannabis
Understanding Decarboxylation
Decarboxylation is a crucial step in making CBD oil at home. By heating the cannabis plant material, this process activates the cannabinoid compounds present in it. When you decarb cannabis, you convert non-intoxicating THCA into THC and CBDA into CBD. This transformation is essential because raw cannabis contains these compounds in their acidic forms, which are not psychoactive or as potent as their activated counterparts.
Proper decarbing ensures that your homemade CBD oil reaches its maximum potency. Without this step, the cannabinoids in your oil may not be as effective. For example, if you skip decarboxylation and directly infuse raw cannabis into oil, the resulting product will have minimal therapeutic effects due to the presence of inactive cannabinoids.
Decarboxylating Techniques
There are various methods for decarbing cannabis before using it to make CBD oil at home. One common approach involves baking ground cannabis flower in an oven at a low temperature for a specific duration. Another popular technique includes using specialized devices such as precision ovens or sous vide machines to carefully control the heat during decarboxylation.
It’s important to note that each method has its own set of advantages and drawbacksTime consumption, and odor control during the decarb process.
Infusing CBD with Coconut Oil: Benefits and How-To
Oil Infusion
Infusing CBD with organic coconut oil is a popular way to create homemade CBD oil. The process involves gently heating the oil with decarbed cannabis, allowing the cannabinoids from the cannabis to be absorbed into the fat molecules of the coconut oil. This method ensures that the end product is rich in CBD, making it an effective option for those looking to benefit from its properties.
The high saturated fat content of coconut oil makes it an ideal carrier for cannabinoids, as it has been proven to absorb them effectively. When compared to other oils, such as olive or vegetable oil, coconut oil stands out due to its ability to retain more cannabinoids during the infusion process. This means that you can maximize the potency of your homemade CBD oil, ensuring that you get the most out of your efforts.
Health Benefits
In addition to acting as an efficient carrier for CBD, using coconut oil in your homemade infusions also brings its own health benefits. Known for its various health-promoting properties, including being rich in lauric acid and containing antimicrobial and anti-inflammatory qualities, incorporating this ingredient into your infused products can add value beyond just serving as a carrier for CBD.
Coconut-infused CBD oils are not only potent but also offer additional health advantages due to their medium-chain triglycerides (MCTs) content. MCTs are known for their quick digestion and energy-boosting capabilities, making them a desirable component in any wellness routine.
Straining and Storing Your Homemade CBD Oil
Straining Process
After infusing the CBD with coconut oil, it’s essential to strain the plant material from the oil. This can be done using cheesecloth or a fine mesh strainer. The goal is to remove any solid particles or plant material, leaving behind a smooth, pure CBD oil.
Once you’ve completed the extraction process, carefully pour the infused oil through the cheesecloth or strainer into a clean container. This will help ensure that your final product is free of any unwanted residue.
Proper Storage
To maintain its potency and shelf life, store your homemade CBD oil in a cool, dark place. Exposure to light and heat can lead to degradation of cannabinoids over time, reducing its effectiveness. By storing it at room temperature in an opaque glass container, you can preserve its quality for longer periods.
It’s important to note that proper storage not only maintains potency but also prevents oxidation of the fats in the oil which could compromise its flavor and efficacy over time.
Dosage Tips and Safe Usage of Your DIY CBD Oil
Start Low, Increase Gradually
When making CBD oil at home, it’s crucial to start with a low dosage. This allows you to gauge its effects on your body. Begin with a small amount, then gradually increase the dosage until you find the optimal level for your needs. By doing so, you can observe how your body responds without overwhelming it.
It’s important to remember that everyone reacts differently to CBD oil. What works for one person may not work for another. Therefore, starting with a low dose provides an opportunity to assess its impact on your individual physiology.
Consult Healthcare Professional
If you’re currently taking other medications or have underlying health conditions, consulting a healthcare professional before using DIY CBD oil is essential. They can provide insights into potential interactions between CBD and any existing medication or medical condition.
Furthermore, they can offer personalized advice based on your health history and current treatment plan. This guidance ensures that using homemade CBD oil aligns with your overall wellness strategy while minimizing risks associated with drug interactions.
Legal Considerations and Risks of Making CBD Oil at Home
Research Local Laws
It’s crucial to be aware of the local laws governing its production. Regulations regarding the cultivation and extraction of cannabis for personal use can vary widely from one place to another. Before embarking on the process, take the time to thoroughly research and understand the legal framework in your area. This includes knowing whether it is legal to grow hemp or marijuana plants for personal use, as well as any restrictions on extracting cannabinoids.
It’s important to remember that what might be permissible in one location could be prohibited or heavily regulated elsewhere. For instance, while some regions allow individuals to cultivate a limited number of cannabis plants for personal use, others may have strict prohibitions against both cultivation and extraction activities.
Fire Hazards and Caution
One of the significant risks associated with making CBD oil at home is fire hazards during the infusion process. The extraction typically involves working with heat and flammable materials such as alcohol or butane, which can pose serious safety concerns if not handled properly. To mitigate these risks, always exercise caution when using heat sources and flammable substances in a confined space like a kitchen.
Ensure proper ventilation during the extraction process to minimize any potential buildup of flammable vapors. Implementing safety measures such as using electric heating methods instead of open flames can significantly reduce the risk of accidents during DIY CBD oil production.


